How to work productively in Flipsnack
Do you ever leave your workplace feeling like you could have done more, promising to manage your time better, only for the same thing to happen the next day? Or maybe you obsess about the unfinished work tasks over the weekend? Struggling with work productivity?
Most people follow an 8-hour work schedule, but how many people work for 8 hours? Almost none, because this schedule has been proven to be ineffective and outdated. Sure, it worked when it was developed, but working at an office job is different than working in a factory.
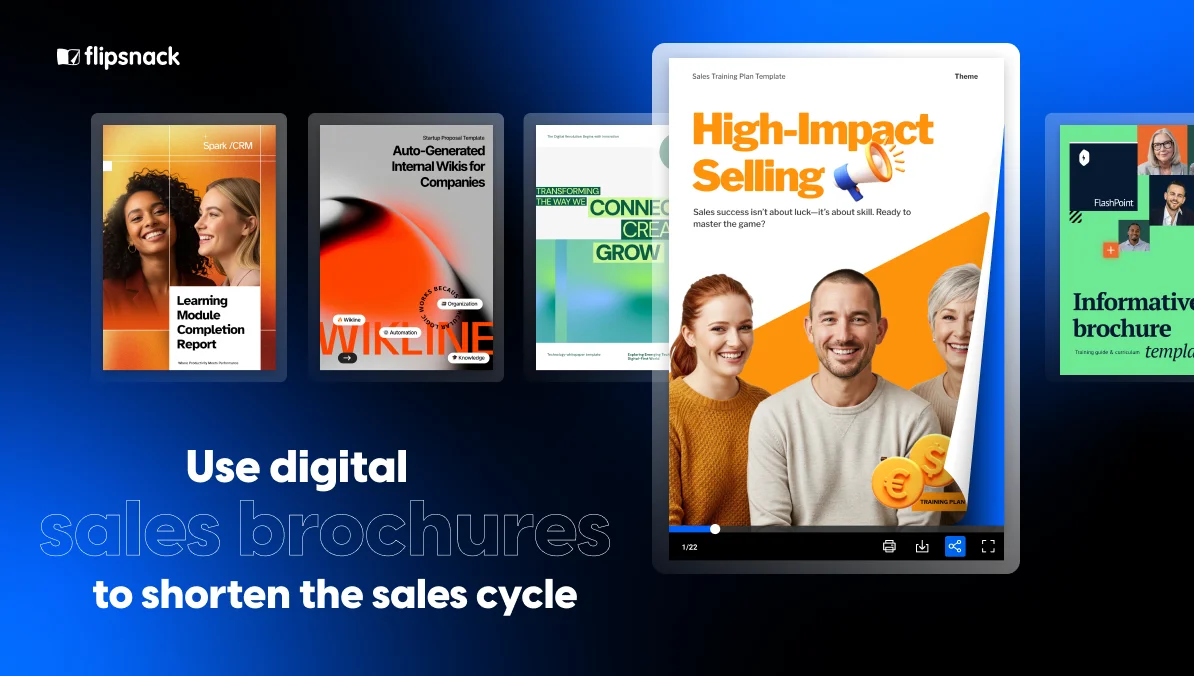
Even so, despite the actual number of hours you work, you need to be effective. Managing your time can often be difficult, but the right processes and tools can help you work more efficiently. For content-related tasks, for example, you can convert PDFs to flipbooks instead of recreating materials for online sharing.
In what follows, I am going to present you with some general work productivity tips. Then some productivity tips you can use in Flipsnack, an online flipbook creator for modern teams.
How can you increase work productivity?
If you’ve ever wondered how to be more efficient at work, then here are some tips you can use.
- Plan ahead
- Take breaks
- Stick to one task at a time
- Tackle the most significant task first
Let’s see how each of these tips can be beneficial for your working productivity.
1. Plan ahead
You’ve probably heard of the saying “measure twice, cut once.” It applied to carpentry, where it meant to measure twice before cutting the wood. But, unfortunately, making a mistake often resulted in a wasted piece of wood, so a waste of time, money, and energy.
Of course, figuratively, it has a similar meaning: plan before taking action because it is easier to anticipate things than fix them. Therefore, to be more efficient at work, it is important to plan.
For example, here at Flipsnack, we use the Agile working system. We have a biweekly planning system: once every two weeks, we have a meeting and establish a strategy for the next two-week period. At the end of the meeting, each knows exactly how many tasks they have to complete. Once we finish that planning session, we must ensure that we meet the tasks at the end of the two weeks.
This situation might not apply in your case, as not every company has this approach. Still, you can create your plans. Either write them on paper or make an online planner.

At the beginning of each day, you can break your task into mini-tasks and solve them. Make sure to write them off as soon as you complete them. Either use an app or write them on paper, whichever motivates you better.
Planning is essential because it allows you to define clear goals, and speaking of which, the planning should have well-defined goals. Don’t write: “start writing the article,” but instead, write the precise steps you will take.
Some people are more productive if they plan and stick to a strict schedule; others not so much. At the end of the day, finding something that increases your work productivity is more important.
2. Take breaks
It might be tempting to cram in as much work as possible, but sometimes this can be counterproductive. Sure, there are moments when you manage to get the creative juices flowing, so you need to work while you’re “in the zone.” Those are unique situations.
I am talking about working without getting up from your office for hours and hours. Working in such a manner can lead to burnout, which eventually leads to reduced productivity. By wanting to do more, you might end up doing less. What I like to do is use the Pomodoro technique.
I set up a task I need to complete and set a timer, usually 25 minutes, but you can adjust this (you can also use an online Pomodoro timer to streamline the process). I focus entirely on the task during that period, and after that period, I take a short break.

After that, I try to repeat the cycle three times, and after those 3 cycles, I take a longer break. This approach works for me because I know what I have to do during those periods.
The rules aren’t written in stone; you can adjust the time period as you want. The idea is to set a time period during which you will work exclusively on the task. No interruptions: getting up from your desk chair, or browsing the internet, using the phone.
Of course, this technique might not be your cup of tea, but the important thing is to take breaks as often as you can, without sacrificing your work, of course. So get up, stretch, take a walk. It will surely help you. An efficient worker takes breaks.
3. Stick to one task
Does this sound familiar? You have three tasks to complete, so you start one, and you get stuck. Instead of taking a break, you move on to the second task. The same thing happens, and you continuously switch between them. Finally, a few days have passed, and you realize that you did not make too much progress.
Or how about this? You start working on a task, and you constantly check your phone. Read a tweet, watch a YouTube video. Maybe even eat your breakfast. Then, one hour later, you are almost in the same spot you were when you started working, virtually no progress made. Simply put, your workplace productivity suffers.

Why is that? Multitasking. Contrary to popular belief, it seems that multitasking is damaging your work productivity. It makes sense. To be effective at a task, you need to be involved in it fully. You can’t constantly switch your attention between tasks and expect to be successful.
Don’t try to do multiple activities at once. Take breaks when you no longer have the energy to be fully dedicated to a task, then get back to it. Take a look at the plan you’ve made at the beginning of the day, and tackle the tasks as you wrote them there. Speaking of which.
4. Tackle the most complex task first
“The secret of getting ahead is getting started. The secret of getting started is breaking your complex overwhelming tasks into small manageable tasks and starting on the first one,” Mark Twain said. Still, it is pretty important to choose the right task first.
You’ve created your plan at the beginning of the day, and you have four tasks to complete. Three of them are more accessible, one is more complex, which one do you choose first? Do you choose the easiest ones, finalize them as soon as possible, or the more difficult ones, and leave the others at the end of the day?
The answer is that there isn’t a specific answer. It depends on the person. Some studies suggest working on the more difficult task first, but it won’t be effective if you have 0 energy in the morning.

However, if you work best in the morning, then tackle the hardest task then. If you are most active after lunch, then do it then.
The trick is to solve the more challenging tasks when your work efficiency is the highest. If you work on the easiest tasks when you are most productive, then the odds are you won’t be able to focus on the more difficult task later.
There you go, if you want to be more productive at work remember to:
- Create a plan
- Take regular breaks
- Avoid multitasking
- Solve what’s more difficult when you are more productive
Now let’s take a look at how to work efficiently when designing your publications in Flipsnack.
How to be productive when using Flipsnack
Since you are reading this article, you probably know that Flipsnack is an online publishing platform. Through Flipsnack you can create different types of publications, either by uploading a PDF and making it interactive or by designing one from scratch.
This part of the article will cover two different subjects:
- being more organized
- being more efficient
.. when working in Flipsnack.
I have to mention that these features are available to different subscription plans. For more information, please visit the pricing page. So let’s get things started.
Organization tips in Flipsnack
Being organized leads to increased work productivity. It allows you to save time, worry less, and overall focus on the task at hand. Here are some tips you can use to be more organized when using Flipsnack.
- Workspaces
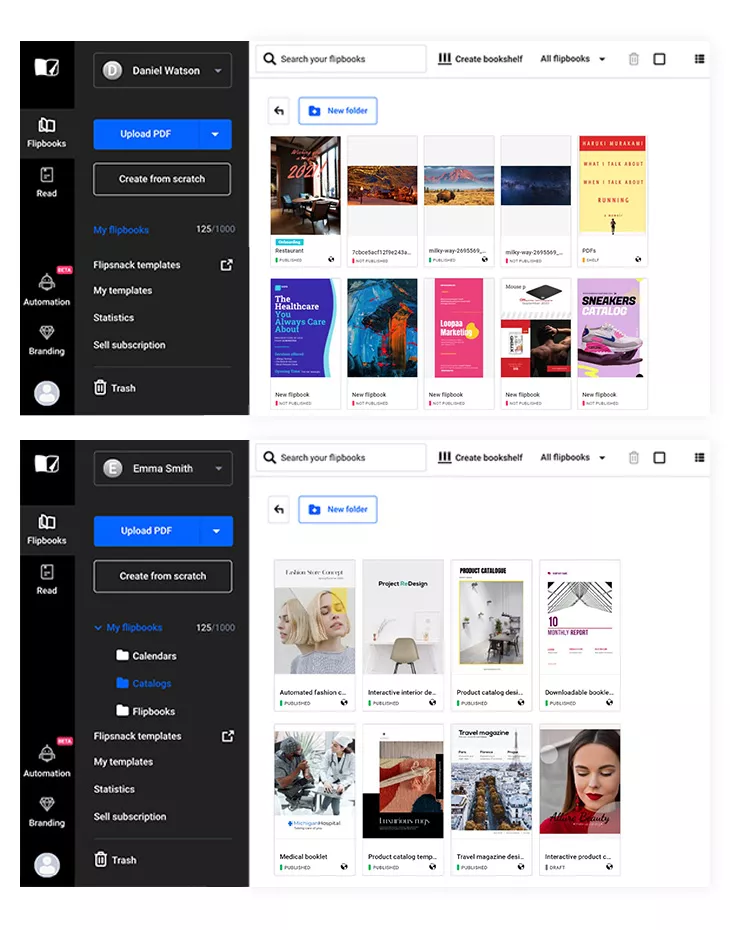
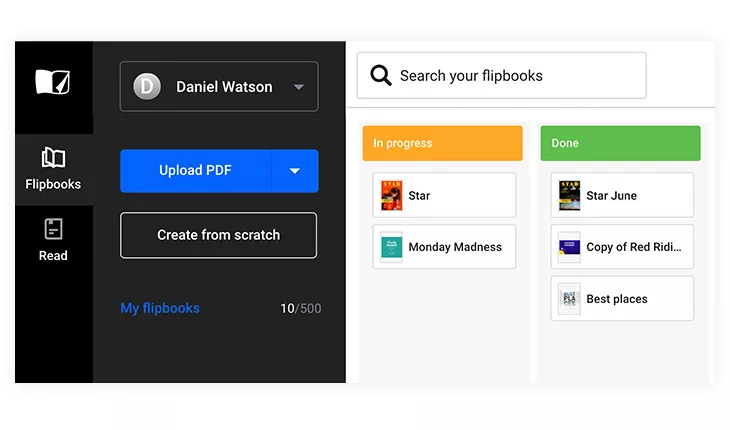
When you create an account in Flipsnack, you will have your workspace to store all your publications. If you work on your own, that is okay; being organized might not be a problem. However, when multiple people collaborate on various projects, it might be challenging to keep things organized. This is where the workspace feature comes in handy.
Each workspace is its environment, so you can create multiple workspaces based on your needs instead of storing all your publications in one place. For example, you create weekly magazines, so you can store all the publications in the “Magazines” workspace. Or you can create workspaces based on the clients you are working with. This choice is up to you.
How does this help with being organized? Besides storing publications in the proper workspace, you can also add team members and assign different roles. There are multiple roles and permissions to choose from to ensure an appropriate team collaboration. If you are the owner, you can assign roles to each team member, thus significantly reducing errors.
On the other hand, you might be invited to a particular workspace. You will then be able to see your permissions and responsibilities set by the owner. You can use the search feature to find a particular flipbook quickly.
It is advisable to group your publications in folders, labels, or even both, as you will see in the following sections. However, if you haven’t grouped them yet, the search feature will surely come in handy.
- Folders
If you are creating publications regularly, your workspace might become cluttered over time. A cluttered workspace can lead to stress and wasted time. Sure, you can use the search feature, but what if you don’t remember the publication’s name? You need to simplify and speed up your work, and this is where folders come in handy. Excellent file management is a must.
Let’s say that you publish different types of publications: brochures, magazines, internal newsletters. Instead of storing all of them in your workspace, you can create folders and subfolders for easy access.
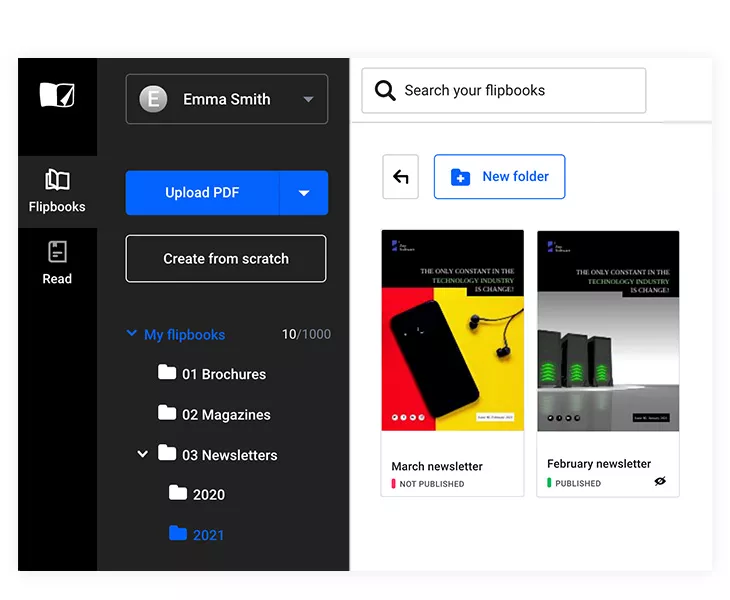
You could create folders for each type of publication and then proper subfolders for each. For example, suppose you send internal newsletters monthly. In that case, you could create a Newsletters folder and then a subfolder for each year. Then, to easily find them afterward, you could create some internal guidelines on how your flipbooks should be named: “January newsletter,” “February newsletter,” and so on.
You can easily add any publication to a folder by dragging it in the desired folder. Likewise, you can move publications from one folder to the other. Folders are the perfect solution to keep your workspace organized and tidy.
Want to access a particular publication? Just open the proper folder, and there you have it.
- Labels, Filters, and Bookshelves
Here is another tip you might find helpful. If folders aren’t your cup of tea, and if you are more visually orientated, you will surely enjoy using labels. They are perfect for organizing your publications and keeping track of their publication status.
The more publications you have, the more difficult it will be to keep track of them. This is why it is important to have excellent work productivity. You can create and customize your labels as you wish and adapt them to your needs. Let me offer you some examples. Similar to the folders, you can create labels based on the publication type: catalogs, ebooks, brochures, you name it.
You could also create labels based on the publication’s status. For example, you can create a label for the publications in draft status, another label for the published ones, and so on.
You can see all your publications structured by their labels by switching to the workspace view, similar to the Kanban method. You can quickly move them from one label to another. Once you’ve advanced a flipbook to its next status, you can drag and drop it from Draft to Unpublished then to Published, accordingly. The label will change on its own.
If you don’t want to create labels to keep track of the publication’s status, there is a quick way to identify this status. Click on All Flipbooks, and a dropdown menu will show up. You can now filter your publications based on their status: Published, Not Published, Drafts, Shelves.
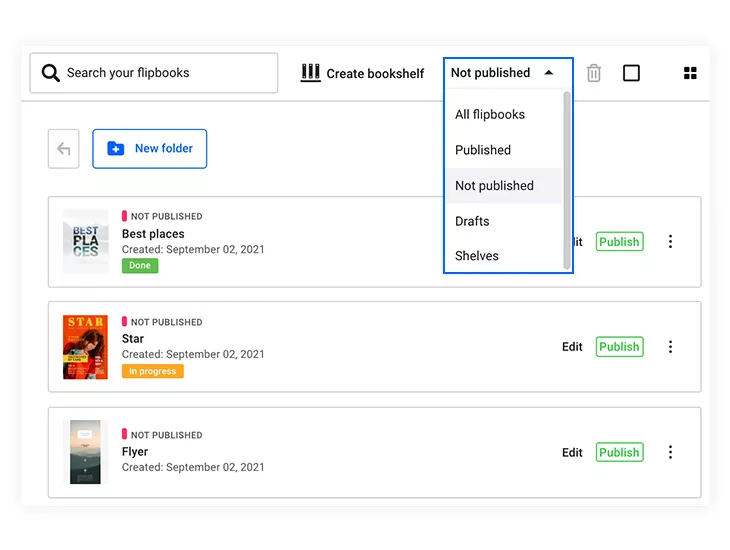
Speaking of shelves, you have the option of creating custom bookshelves that you can fill with publications. Let’s say that you are a magazine publisher. You might release magazines regularly, and you want to embed them on your website. Instead of embedding them individually, you could create a virtual bookshelf that displays all of them. The magazines show up on the bookshelf, and all the user needs to do is click on a magazine to start reading it.
Anyone can use this feature. You might just want to show off the amazing creations you’ve made in Flipsnack. Or maybe you want to include all the newsletters you share internally with your colleagues and this way you could send the bookshelf’s link.
If you don’t like the standard look, feel free to customize it. Change the background color, set the transparency, make it fit your style.
- Team Uploads and Upload Folders
Now that I’ve shared some tips you can use in your workspace let’s see how to increase work efficiency in our Design Studio.
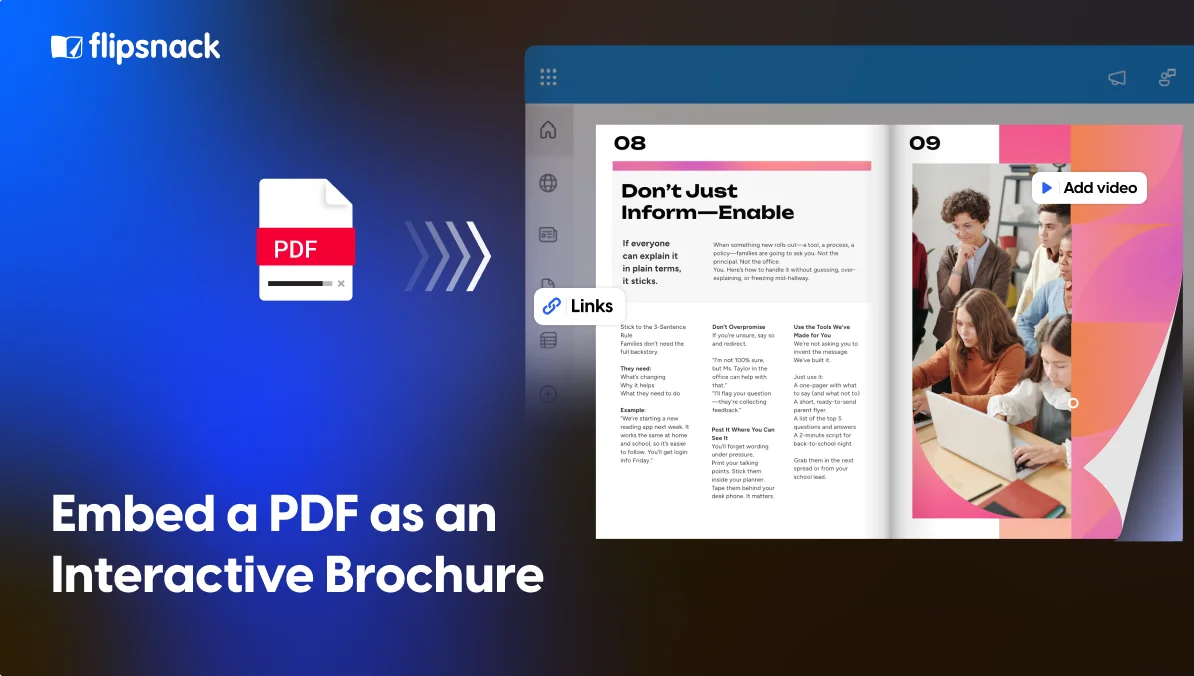
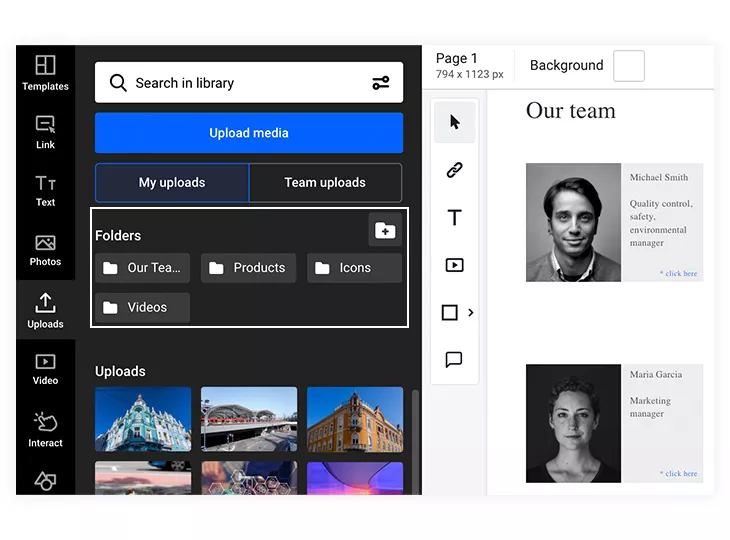
An advantage of using Flipsnack is that you can add interactivity to publications, whether they are uploaded PDF files or created from scratch. Besides the interactive features you can find in our Design Studio, you can also upload custom media files, such as videos, images, GIFs, and more.
If the team you are working in is large, things can get a little hectic. The team upload feature can be helpful in this case because only the owner and the admin can add files in the team upload section. This means that you can find common files in a separate tab and the personal ones in another one. It speeds up the process, thus increasing work productivity.
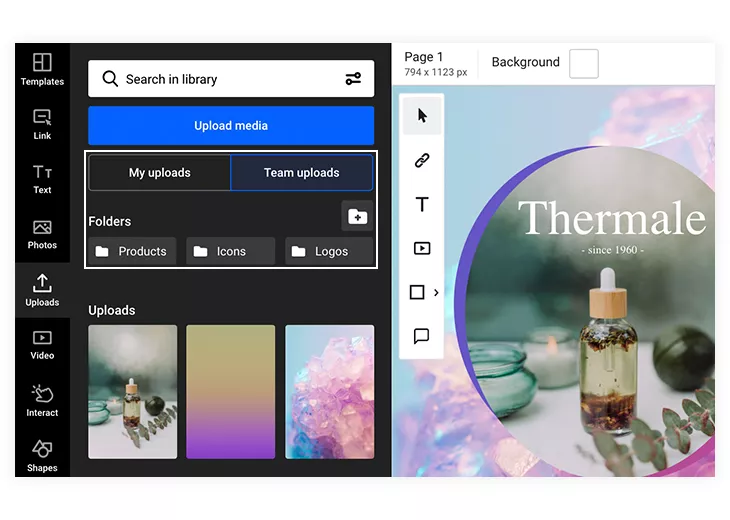
Moving on, similar to the workspace folders, you have the option of creating upload folders. If you upload media files often, you can store them in folders. Once again, the choice is yours regarding how you keep them. Do it either by media type, subject, and so on. Need to find a black and white image? Why not make a “Black and white” folder. Need an image for a catalog? You can find it in the “Catalog” folder.
Efficiency tips in Flipsnack
Now that I’ve talked about how you can organize better when using Flipsnack let’s look at some efficient ways you can use our Design Studio.
Before getting there, did you know that there is a way to start working on your Flipsnack publication directly from the address bar? There is, and it can help you save time. Entering flip.new or flipsnack.new in the address bar will take you to the upload page.
Here is where you can upload a PDF file (or files, as you will see) from your computer or your Google Drive account. You can also create your publication from scratch or by choosing from our templates collection. So, whenever you need to create a new publication, use these two shortcuts.
Without further ado, let’s get to the tips:
1. Use the different upload options
Once you’ve reached the upload page (by using the shortcut I just mentioned hopefully), you can upload multiple PDF and JPG files at once. By using this option, you will merge the files into one. For example, you might have a few images and want to turn them into a neat photo album. Maybe a collection of wallpapers or pictures you took during the holiday.
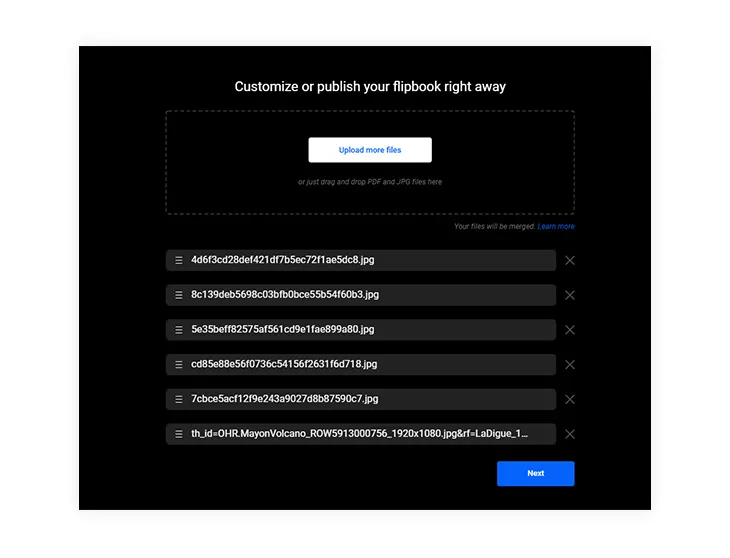
Instead of uploading the images one by one, you can select multiple files. They will all be uploaded in a new publication. Once the publication is done, you can edit it to your liking. Maybe you want to add captions, sharing some details about each picture. Or maybe include some links to the locations you visited.
However, there might be cases when you want to upload the files individually without merging them.
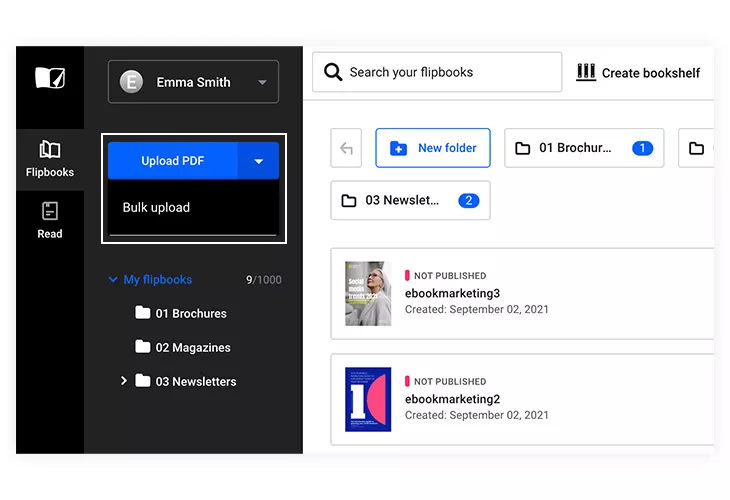
For example, 12 PDF files, each file being a monthly catalog. The Bulk Upload feature is handy in this case because it allows you to do just that: upload multiple files at once, but they will be uploaded separately. This way, you will have all your catalogs, and you can store them on the bookshelf I previously mentioned.
2. Try our automation feature
Since I mentioned catalogs, imagine that you need to release a new product catalog each month. It contains product images, prices, and a small piece of text about each product. Each catalog has a few hundred items. Imagine manually adding each image and text, page after page after page. Doesn’t it sound time-consuming and tedious?
Now imagine the alternative. You have an automated catalog template in Flipsnack. You have a data source containing all the information I mentioned. Now all you have to do is prepare your data source and connect it to Flipsnack. Make some adjustments, drag and drop the products on the page, and the information will be updated automatically.
This is the catalog automation feature, and it is a great way to increase work productivity. Instead of uploading items manually, all you need to do is prepare the data source for automation, and you are ready to go. To better understand, you can also download a sample spreadsheet to see how you should arrange the items.
The benefit when using a template is that you can lock the elements in place. The products will always be in that spot, their position won’t be altered. You will only modify the content.
You can find more information in this catalog automation tutorial.
3. Drag and drop items and keyboard shortcuts
If you want to work more efficiently, you need to work faster, and in order to do so, you need to take advantage of whatever shortcuts you can use. For example, when using an application regularly, it would be better to get accustomed to the different keyboard shortcuts you can use. Instead of clicking multiple times, why not use a keyboard shortcut instead?
Of course, most people know about copy and paste, cut and paste, undo, and so on, but I want to share some keyboard shortcuts that you will find useful when working in Flipsnack’s Design Studio.
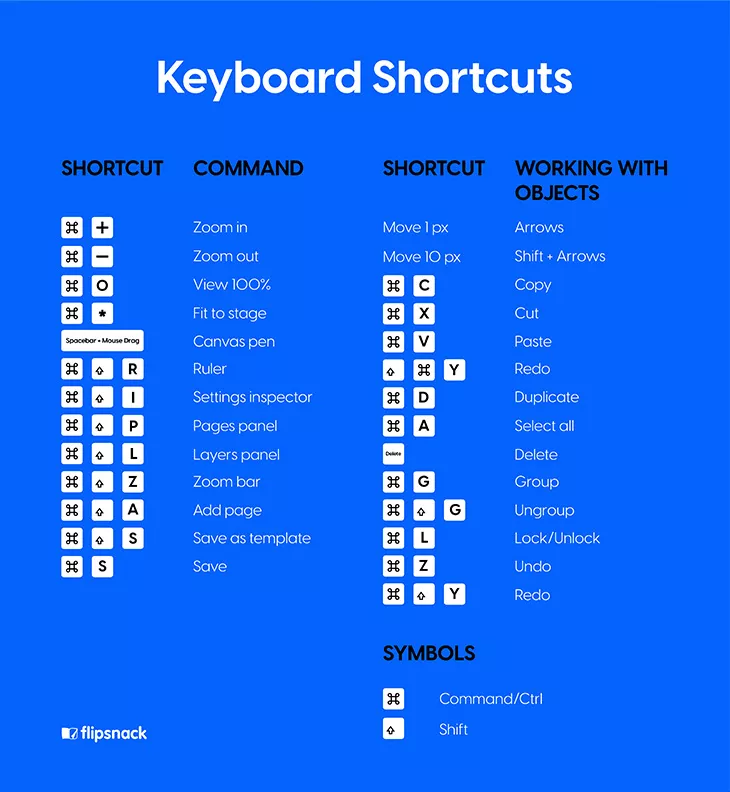
For example, if you want to add a new page in your publication, you can use ctrl/command + shift + P. If you want to group multiple elements together, you can use ctrl/command + G. To ungroup them, use ctrl/command + shift + G. If you want to lock and unlock an element, you can use ctrl/command + L. As you can see, there are different options to try.
Another way you can improve work productivity is when uploading your media files. If you have multiple images, GIFs, or videos you need to upload, instead of selecting each of them individually, what you could do is place all of them in a folder, select them all, then drag and drop them in the Design Studio.
The media files will be uploaded, ready to use. Once again you can use the drag and drop feature to place them wherever you want in your publication.
4. Brand your publications
Building a brand is an important part of any company, so here are a few tips you can use to make the branding process easier. In order for a company to make a name for itself over time, it requires brand consistency. Flipsnack can help you with that, as we offer different branding options. The process is simple: you upload your fonts, logos, colors once, and you can then include them in all your publications.
It is important for all your publications to include your brand elements, but what can you do when you want to enforce certain rules? For example, you want each publication to include the logo in the upper left corner, not the right one. You can do that by using the advanced lock feature.
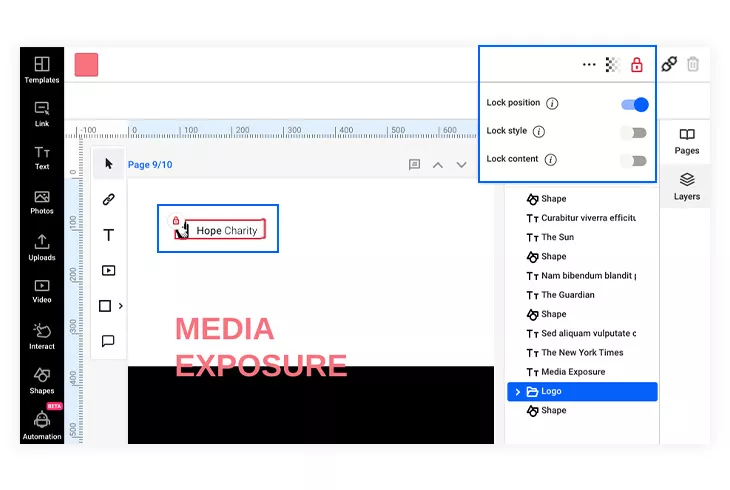
You can use it to lock the position, style, and content of the desired elements. For example, you lock the position of the said logo in the corner. Then you lock the style, which means that any style changes will be prohibited. Finally, by locking the content, you ensure that the logo image cannot be replaced.
Once all of that is done, you can lock the template, making it ready for future use. A saved template will contain all the locked elements just as you planed them. Anyone using the template will be forced to follow your branding rules. It will increase work efficiency, as there will be fewer things for the employees to worry about.
Conclusion
As you can see, there are different ways to increase work efficiency and work productivity. It involves saving time and effort, while still maintaining high work quality. Being organized is the solution, and hopefully, the tips I’ve shared with you will increase productivity at work, and when working in Flipsnack.