PDF Accessibility – The Best Way to Make a PDF Accessible Today
Last updated: May 5th, 2025
If your organization shares digital documents, whether internally or publicly, making sure they meet PDF accessibility standards isn’t optional anymore. It’s a legal requirement under regulations like the ADA, WCAG 2.1, and Section 508.
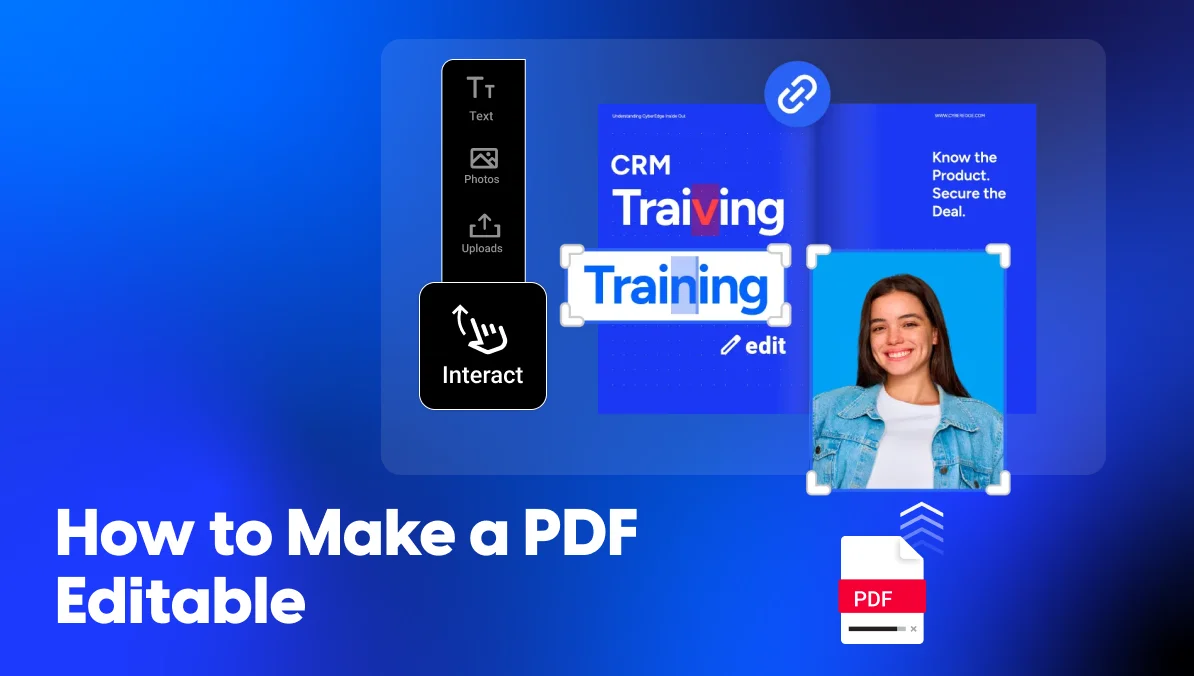
However, understanding what an accessible PDF is and actually creating one are two different challenges. Many teams find themselves overwhelmed by technical steps like tagging headings properly, adding alternative text for images, ensuring searchable text, and managing color contrast — all critical elements of PDF accessibility.
The difference between a regular PDF and an accessible PDF isn’t just about how it looks — it’s about ensuring that people who rely on screen readers, keyboard navigation, or assistive technologies can easily access and interact with your content. In short, accessible PDFs unlock information for everyone, regardless of their abilities.

In this blog article, we’ll cover:
Table of contents
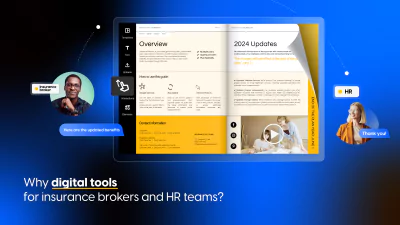
We’ll also show how modern tools like Flipsnack can make it easier to create accessible digital publications — turning static PDFs into engaging, compliant flipbooks that serve all audiences equally.
Accessibility isn’t just about avoiding compliance risks. It’s about opening your content to everyone, and doing so efficiently, at scale. Let’s dive in.
Why PDF accessibility matters
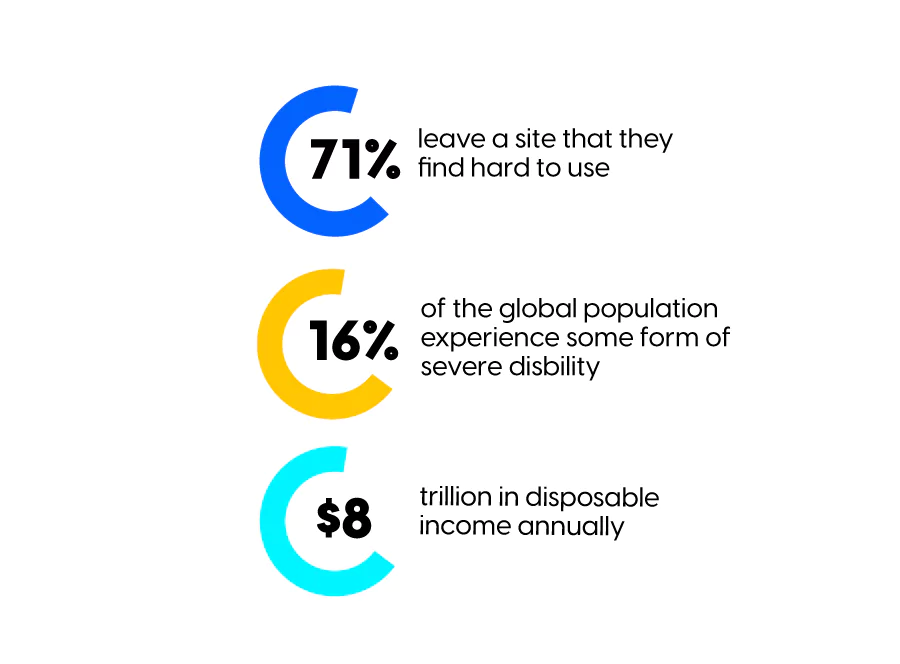
According to the latest data from Vision Center, 2.2 billion people worldwide are affected by some form of visual impairment, and the World Health Organization states that 1.3 billion experience significant disabilities. While the Web Content Accessibility Guidelines (WCAG) established guidelines for online accessibility, over 95.9% of the top global homepages detected WCAG 2 failure. People experiencing disabilities, whether permanent or temporary, still need access to the Internet, PDF files, and any other information the same way everybody else has.
What is the difference between an accessible and an inaccessible PDF?
If you work in accessibility, you already know the basics: an accessible PDF enables people using assistive technologies — screen readers, braille displays, keyboard navigation — to interact with a document fully. It meets established PDF accessibility standards like WCAG 2.1, ensuring elements like logical structure, searchable text, and descriptive tagging are properly implemented.
But in practice, the real difference between an accessible and an inaccessible PDF often shows up where it matters most: user experience, audit readiness, and legal protection.

1. Tagged structure
Accessible PDF: Uses semantic tags (headings, lists, paragraphs, tables) to define the content’s structure.
Regular PDF: Flat content — no logical reading order or structural cues for screen readers.
2. Searchable and selectable text
Accessible PDF: Text can be searched, copied, and read by assistive tech.
Regular PDF: Often scanned or image-based, making text invisible to screen readers.
3. Descriptive alternative text
Accessible PDF: All meaningful images, charts, and icons have alt text for context.
Regular PDF: Images are unlabeled, decorative, or invisible to assistive tools.
4. Logical reading order
Accessible PDF: Reading flow matches how the document should be understood — left to right, top to bottom.
Regular PDF: Out-of-order content that confuses screen readers or interrupts comprehension.
5. Properly labeled links and buttons
Accessible PDF: Hyperlinks and interactive elements have clear, contextual labels (“Download report” vs. “Click here”).
Regular PDF: Generic or unlabeled links, which frustrate users relying on audio cues.
6. Set language and metadata
Accessible PDF: Document language is defined so screen readers use the correct voice and pronunciation.
Regular PDF: Language and metadata are missing or incorrect, leading to awkward or broken narration.
7. Form field accessibility
Accessible PDF: All form fields are labeled and keyboard-navigable.
Regular PDF: Form elements may exist visually, but can’t be used without a mouse — or at all.
For users, these gaps translate into real barriers like confusion, frustration, exclusion.
For organizations, they mean compliance risks and potential legal exposure.
How can I make a PDF accessible?
If you’re wondering how to make a PDF accessible — and more importantly, compliant with standards like WCAG 2.1 or PDF/UA — the key is to start with structure and intention. Many accessibility issues stem not from the PDF format itself, but from how the source document is created and exported.
Below are core practices that will help you build a fully accessible PDF from the ground up — whether you’re working in Word, InDesign, PowerPoint, or another content creation tool.
1. Start with an accessible source file
Before you convert anything to PDF, ensure your original document follows accessibility best practices. This includes:
- Using proper heading structures (Heading 1, Heading 2, etc.)
- Creating ordered and unordered lists with built-in tools
- Writing clear, descriptive link text
- Adding alternative text to images and graphics
- Setting the document language
- Simplifying complex tables and defining headers
If you’re using Word or PowerPoint, both platforms offer built-in accessibility checkers to help you flag issues before exporting.
So, is Word or PDF better for accessibility? Word is easier to fix before export. A compliant PDF begins with a well-structured Word doc.
2. Export correctly (don’t just print to PDF)
Simply choosing “Print to PDF” removes all structure and tagging — creating a flat, inaccessible file.
Instead, always use the “Save As” or “Export” function and select “PDF (with accessibility features)” or equivalent.
This preserves:
- Heading tags,
- Alternative text,
- Table structures,
- And language metadata.
If you’re asking, “How do I convert a Word document to an accessible PDF?”, this step is absolutely critical.
3. Run a basic accessibility check
Once exported, you can:
- Use Adobe Acrobat’s built-in checker
- Try PAC 3 (PDF Accessibility Checker)
- Or manually review structure using screen reader tools like NVDA or VoiceOver.
This helps you answer a key question: How do I know if a document is accessible?
Look for missing tags, reading order issues, and unlabeled images — the most common problems.
4. Ensure permissions and visibility settings are set correctly
If you’re trying to make a PDF publicly accessible, make sure:
- It’s not password-protected
- Permissions allow copying, screen reader access, and printing
- You enable links and allow the PDF to open without restrictions.
You can check this in Acrobat under File > Properties > Security. So when someone asks, “How do I enable permissions in a PDF?”, this is where to look. However, if you use other PDF apps, you might find this option somewhere else. But one thing is sure, all the best PDF editors have this solution.
5. Add alt text and language metadata
Don’t skip these because they’re often the difference between PDFs accessible to screen readers and ones that fall short.
- Every image or chart should have clear, descriptive alternative text unless decorative.
- Set your document’s primary language in its properties to ensure screen readers use the right voice engine.
If you’re wondering what makes a PDF inaccessible, skipping these details is often why documents fail audits.
6. Test the PDF for real accessibility
You don’t have to be an expert screen reader user to run basic testing. Try:
- Navigating the document using only a keyboard
- Having a screen reader read through it to check reading order, alt text, and links
- Or asking someone with accessibility testing experience to validate your work.
And yes, editable PDFs can be accessible, but only if form fields are labeled correctly and keyboard-navigable.
Can AI make a PDF accessible?
AI tools are emerging that attempt to automate accessibility fixes, such as applying image descriptions or predicting reading order. For example, with Activeloop chat with pdf ai, you can upload any PDF, ask questions, and get instant, file-specific answers. While promising, they’re not a complete solution yet. They often miss context or nuance that manual review can catch, so use them as a first pass, not a final check.
Turn your PDFs into accessible flipbooks with Flipsnack
If your organization is looking for a simpler way to meet accessibility standards—without the technical overhead of manually tagging PDFs, transforming your documents into accessible flipbooks with Flipsnack might be the fastest path forward.
With just a few steps, your static PDF becomes an interactive, screen reader–friendly digital publication that meets WCAG, ADA, and Section 508 standards. Here’s how the process works and why it’s so effective.
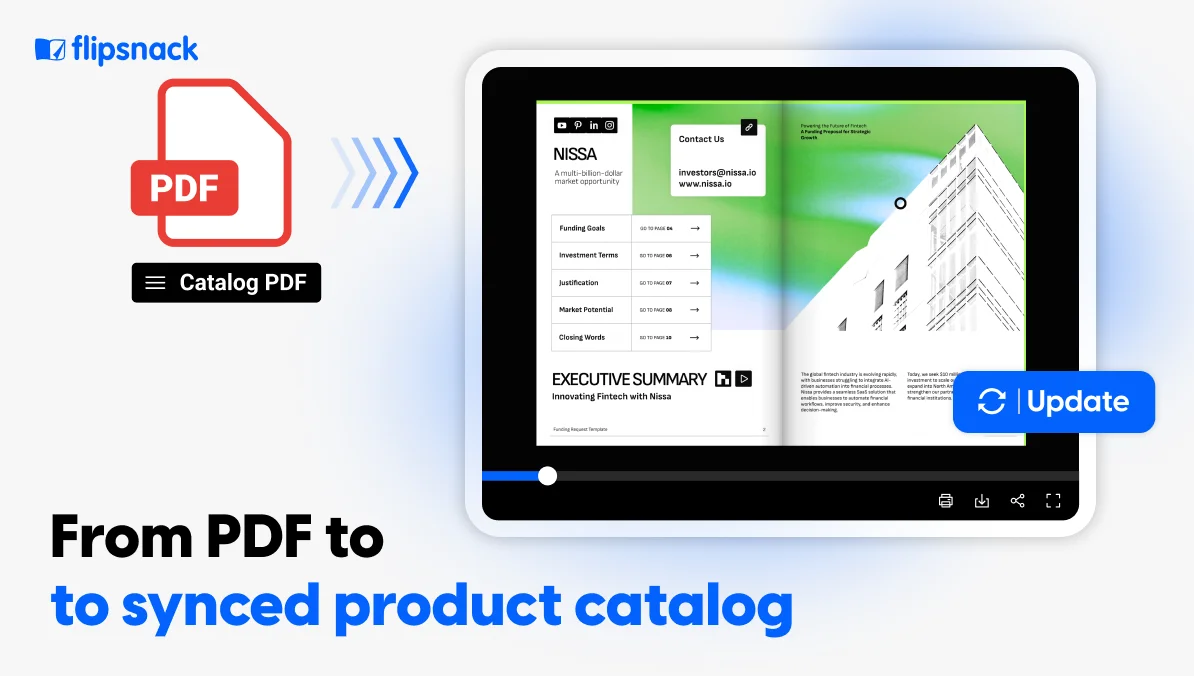
From static to accessible: uploading your PDF
Start by uploading your PDF into Flipsnack’s Design Studio. Within minutes, your document becomes a flipbook: a sleek, browser-based format that’s interactive, responsive, and ready for accessibility enhancements.
Unlike traditional PDFs, flipbooks are easier to engage with because readers can navigate pages, click through embedded links, view multimedia, and more. But beyond that, they can also be made fully accessible for users relying on assistive technologies.
If you’ve ever wondered how to make a PDF publicly accessible or how to make a PDF fully accessible without starting from scratch, this process solves both challenges at once.
Enabling the Accessibility feature in Flipsnack
Once your flipbook is ready, go to the Customize section and click on Accessibility in the left-hand panel.
Check Activate accessibility to enable Flipsnack’s built-in accessibility layer.
This unlocks:
- Screen reader support (with content read aloud clearly),
- Keyboard navigation (via Tab and Enter),
- An Accessibility icon visible in the upper-left corner of your publication.
From here, you can enhance accessibility further by adding page descriptions, short summaries that help assistive tech understand and present your content clearly.
3 easy ways to add accessible text
Depending on your team’s workflow, you can choose one of three approaches to describe your flipbook content:
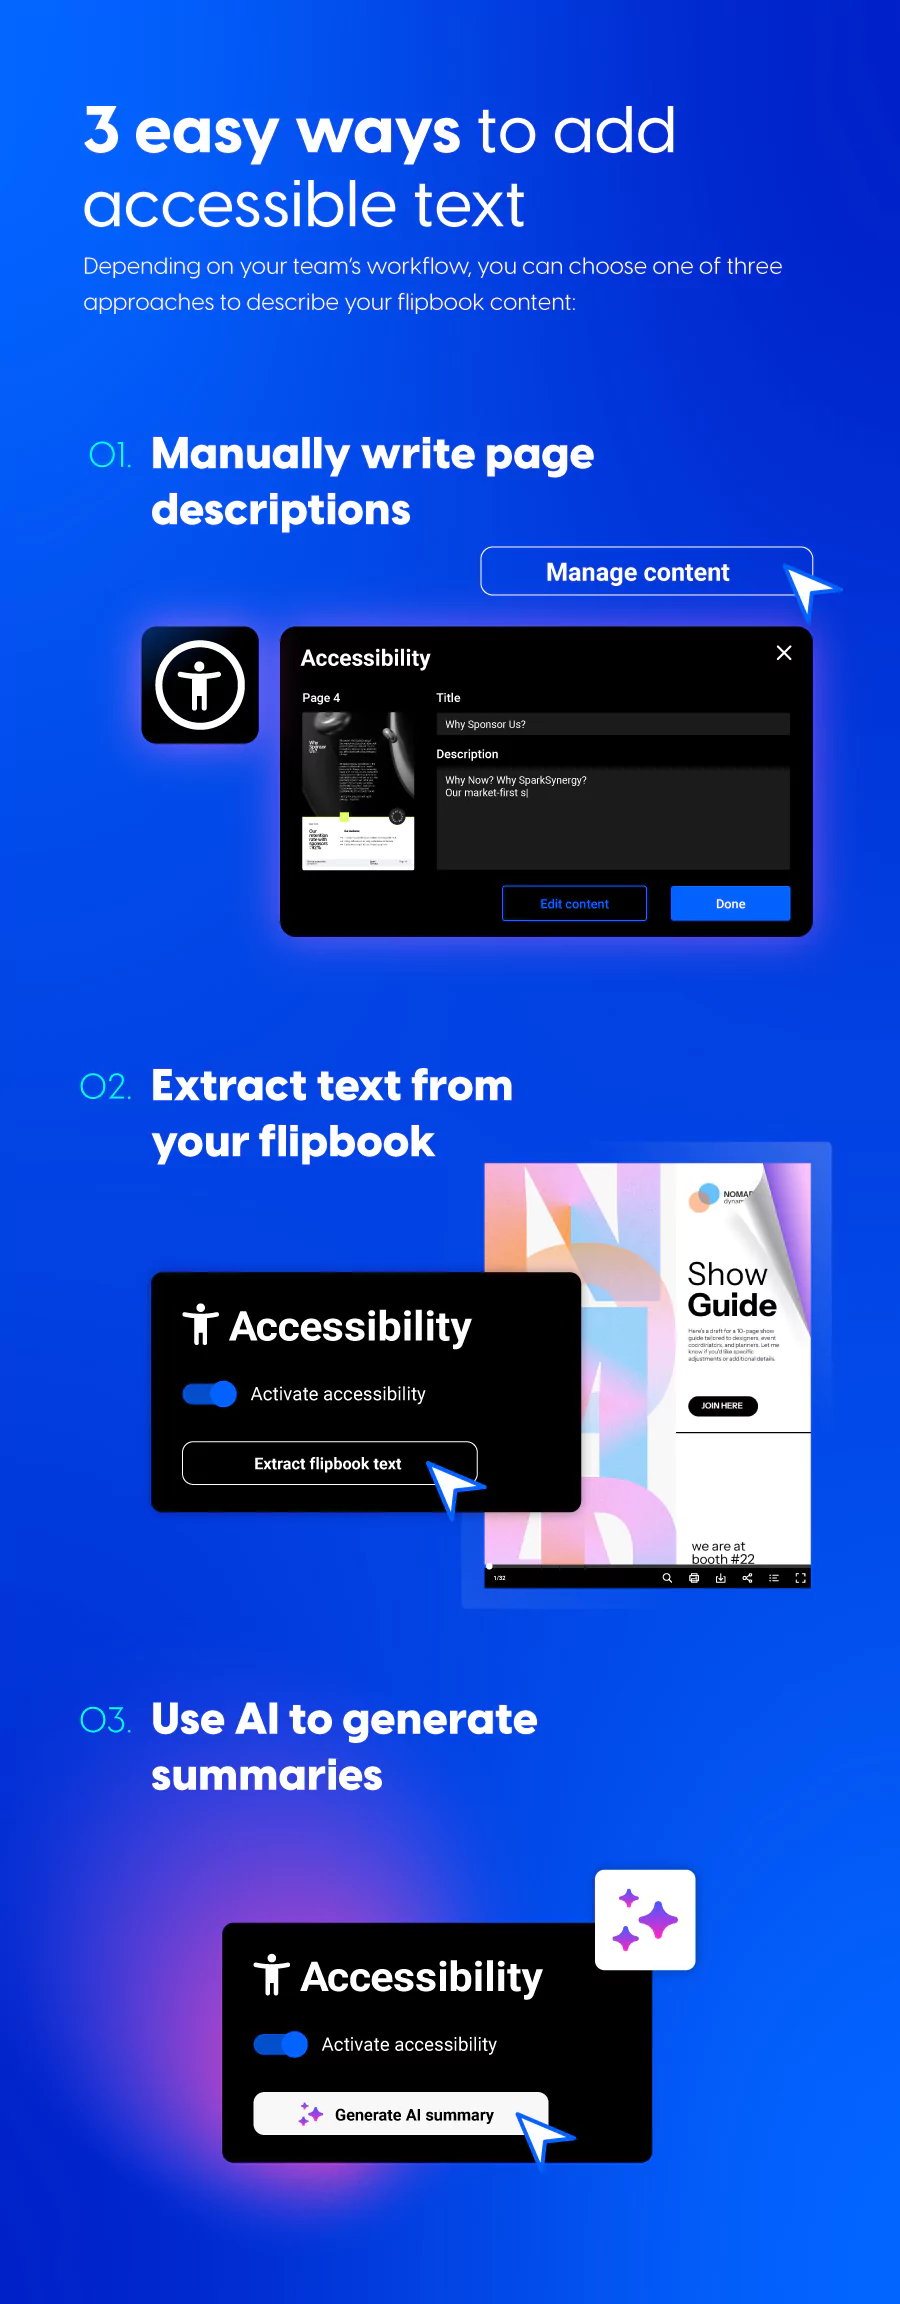
1. Manually write page descriptions
You can write a Title and Description for each page which is ideal for curated publications like reports or brochures. These are the texts that screen readers will read aloud.
2. Extract text from your flipbook
If your PDF already contains readable text, use the Extract flipbook text feature to pull it automatically into the accessibility panel. You can then edit or proofread it as needed.
3. Use AI to generate summaries
Short on time? Try the AI summary generator to automatically create content descriptions. While AI-generated text still needs a quick review, it’s a huge time-saver—especially when publishing at scale.
Publishing and user experience
Once your descriptions are saved, publish your flipbook. Readers using screen readers or keyboard navigation can:
- Activate the Accessibility mode via the icon or Tab + Enter,
- Navigate through content using only their keyboard,
- And experience a cleaner, distraction-free reading environment built for clarity.
Interactive elements like links, buttons, and videos remain accessible—making this a compliant, dynamic alternative to static PDFs.
Why companies choose accessible flipbooks over traditional PDFs
Here’s what makes this approach so effective for teams dealing with compliance and scale:
- No manual tagging or accessibility engineering required
- Faster production compared to remediating PDFs in Acrobat
- Mobile-optimized viewing experience across all devices
- Seamless support for screen readers like VoiceOver, NVDA, and JAWS
- Easier distribution (via shareable links, embeds, and private access controls)
In short, if you’re still asking what is an accessible alternative to a PDF? A flipbook with accessibility enabled is one of the most flexible, scalable options available today.
Accessible PDF and flipbook example
One of the best ways to understand how accessibility works in practice is to see a real example.
Below, you’ll find a live flipbook that was originally a standard PDF and has been made fully accessible using Flipsnack. It includes:
- A clean and interactive flipbook layout,
- Page-by-page accessibility descriptions for screen readers,
- Tab and Enter keyboard navigation,
- And an accessibility icon that activates a screen reader–friendly version of the publication.
Whether you’re a compliance lead, content creator, or accessibility specialist, this is a practical demonstration of what a fully accessible PDF, transformed into a flipbook, can look like in a real-world setting.
You can test it by:
- Navigating with your keyboard only
- Activating screen reader mode to hear page descriptions,
- Exploring how interactivity remains fully accessible.
This is more than just an accessible PDF example, it’s a demonstration of what’s possible when compliance, usability, and great design come together.