
Mood boards: the do’s and don’ts
Whether you’re working on a big creative project, a marketing campaign or designing a catalog, a mood board is tried-and-tested method, which has the ability to get your creative juices flowing.
What is a mood board?
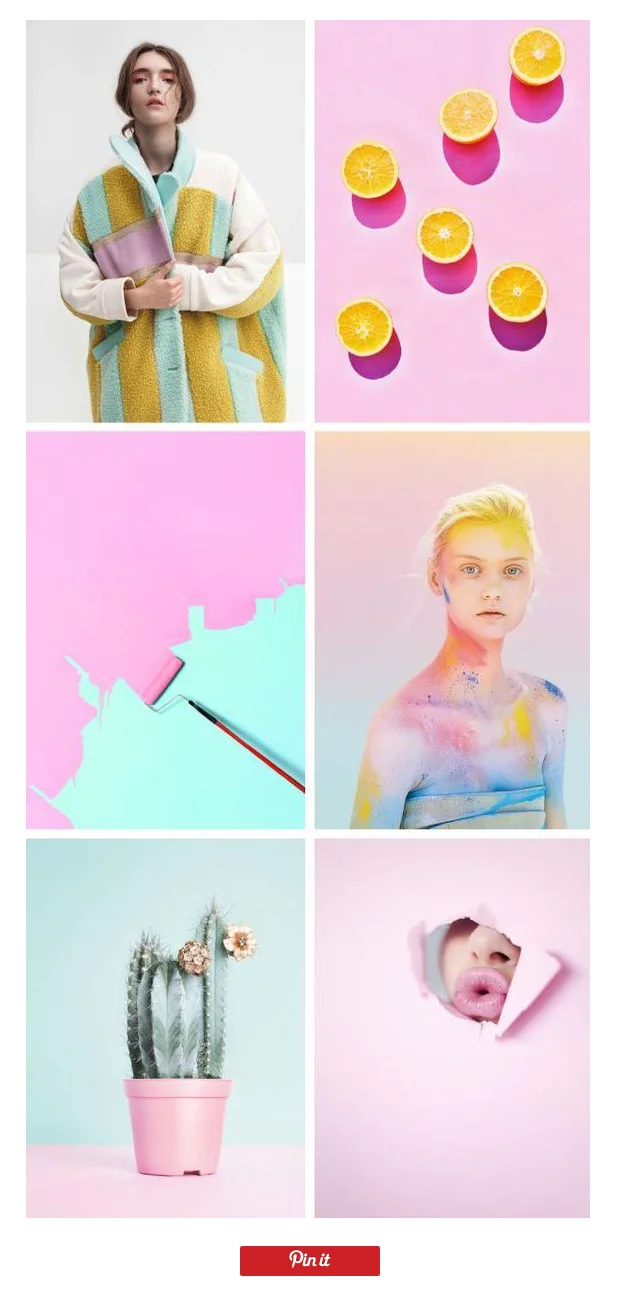
A mood board is a collection of images, colors and fonts that perfectly defines what a project is about. It can include a variety of things, such as photos, illustrations, cutouts, color palettes, textures, words and really anything that helps you define the direction of your project.
In other words, a mood board (also known as inspiration board) is a physical or digital collage of ideas that is commonly used in a variety of fields, such as fashion, interior design, art and so on.
You can use mood boards in two ways:
- to draw inspiration from, or
- to help you better present a project or an idea to others
This is why mood boards are usually used in the initial stages of a project. They help the creator refine his ideas and visualise how various elements go together. They are also a very useful visual aid in helping the designer present and communicate his vision in a clear way.
Mood boards help you awaken your creative buds so that you have an inspiration source. On the other hand, they help others ‘get inside your head’ as they show your intended vision for a piece of work.
How to make a mood board
Mood boards can mean different things to different people, especially because when it comes to creating a mood board, there aren’t any strict or exact rules you must follow. It really just has to communicate a theme or a “mood”. Sometimes there isn’t a better way to present a creative idea or a style.
That being said, here are some tips that help you create a great mood board and also some things you might want to avoid.
1. Choose the theme
Start by establishing your goal and your theme. Before you start browsing for images, colors, fonts, materials and textures, you need to ask yourself: What is the result I want to achieve? What is this moodboard going to be about? The answer will help you establish the theme or a general creative vision. This way, when you start browsing and curating, you won’t get too derailed from your goal.
The theme will be your anchor point as you start building your mood board. Otherwise, instead of being a source of inspiration, your mood board could turn into a source of confusion.
Another great benefit from clearly stating your mood board theme is the fact that it will help you brainstorm various keywords associated with it.
DON’T get too attached to an idea right at the beginning. You only need your goal to start with and a few possible directions that will take you there. The mood board is all about exploring, so keep an open mind as you start browsing for inspiration. Sometimes the most unexpected things turn out to be the greatest idea.
2. Browse for inspiration in real life
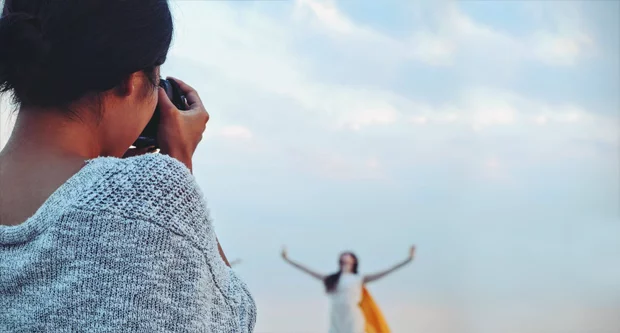
Whether you take a stroll in the park, go to the grocery store or look out of the window, potential inspiration is literally everywhere. You just need to keep an active eye for your surroundings and you will be amazed by how much interesting stuff your sight can catch.
Use the camera on your phone to take pictures of everything you see that inspires you, whether that is an interesting building, a cool sign, a catchy billboard and the list can go on. They don’t have to be great photos – it’s all about capturing thoughts, themes and feelings.
DON’T rely just on digital inspiration even if you do decide to create a digital mood board. No matter if you go for digital or physical, real world inspiration is all around us so why not take advantage of that?!
3. Experiment and have fun

This whole process of creating mood boards should be something you enjoy doing. It’s supposed to spark ideas and get a perspective on different subjects. So be creative and have fun with it!
DON’T: Limit yourself. Don’t be afraid to experiment and let your mind go loose. Just because others have done things in a certain way, doesn’t mean you have to do it, too. You’re your own master and you get to decide what works and what doesn’t for your project.
4. Curate what you include
Think of yourself as an art curator and of your mood board as an exhibition. Your mood board needs to ‘touch’ people and give them a cocktail of emotions, better understanding, new views and emotions. Keep in mind that your mood board should tell a story, and try to introduce substance and threads from one image to another rather than just scatter them with no purpose at all. This way everything on your mood board is nicely tied up and makes for an easier interpretation.
DON’T copy. When dealing with much material to choose from, it can all get quite overwhelming for you and easy to slip down the plagiarism path. However, doing this won’t help you create a true mood board for yourself, it will just make you give other people’s vision about certain things. So see these materials as an inspiration rather than as your final work.
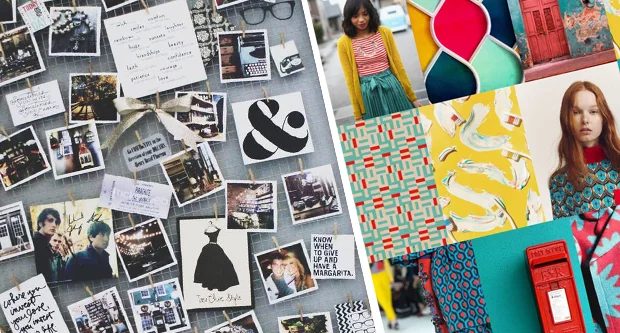
5. Choose the medium and presentation layout
First, you have to decide whether you go digital or physical. Digital mood boards are easy to create and present, and they are the only way to go if you need to share your mood board with a remote team member or with someone from a different geographical location. An awesome tool we recommend for creating digital mood boards is Milanote. It’s really easy to use and it’s perfect for a variety of visual boards. Here at Flipsnack we use constantly for some of our creative projects and we love it.
Physical boards can bring a sense of reality into the project and are better in certain situations. For example, for an interior design project, a physical board can be much better, as it will allow you to include fabric swatches, that add an important tactile element.
As for the actual structure and style, you need to determine whether you want to go for a clean lines, with borders that separate perfectly arranged pictures or you would much rather make a collage that mixes everything together? Whatever it is that you choose, just make sure you stick with a single layout.
DON’T leave unnecessary blank spaces as it can look unfinished. And if you do choose to use borders in your mood board, make sure to measure how equal they all are.
6. Add texts and typography
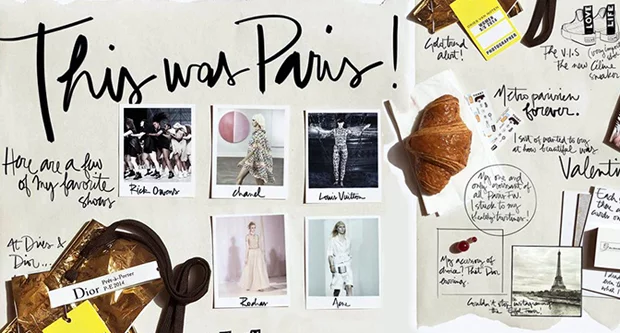
They say a picture is worth a thousand words and I couldn’t agree more. However, adding a few words with the right typography style and strategically placing them will enhance the visual aspect of your mood board. Words and fonts can be powerful tools as they can create the tone and provide a meaning to the pictures you’ve added to your mood board.
DON’T neglect typography and fonts. If you decide to add some text to your mood board, then your choice of font is critical. Think of some original fonts out there that would work well with your design and also a style for your text that ties everything nicely together.
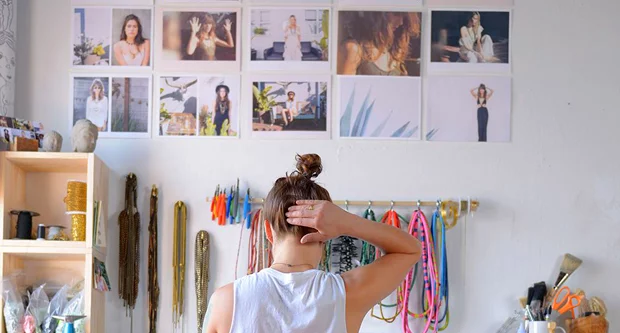
7. Review and edit, before presentation
The initial stages of building the mood board are all about exploring ideas and collection as much inspiration as possible. At some point you’ll realise there are things that go well together and things that don’t. There are some directions that you don’t want to further explore and things in your board that you want to keep. It’s a sign you’re ready to refine and edit.
Keep the images and samples that are the best representation of the style you’re going for. Get rid of anything that clashes with the theme.
An important element of the mood board is the color palette. Color choices should come together beautifully and harmoniously within your board.
Sticking with one unified design style will make your concept look cohesive and clear. It will help you communicate your ideas clearly and get the right vibe across.
As you’re reaching the final steps of making a moodboard, start organising it. Any client or teammate should be able to understand what the mood board is all about when looking at the finished piece. A good tip to make clear what the theme of your mood board is, would be to focus on a larger image and built the rest of the board around it.
DON’T keep everything that you start with. Your mood board can start as a fun creative mess, but it shouldn’t end up a mess.
By now you know everything you need to start a mood board. You know the process, the tools we recommend and you’re ready!
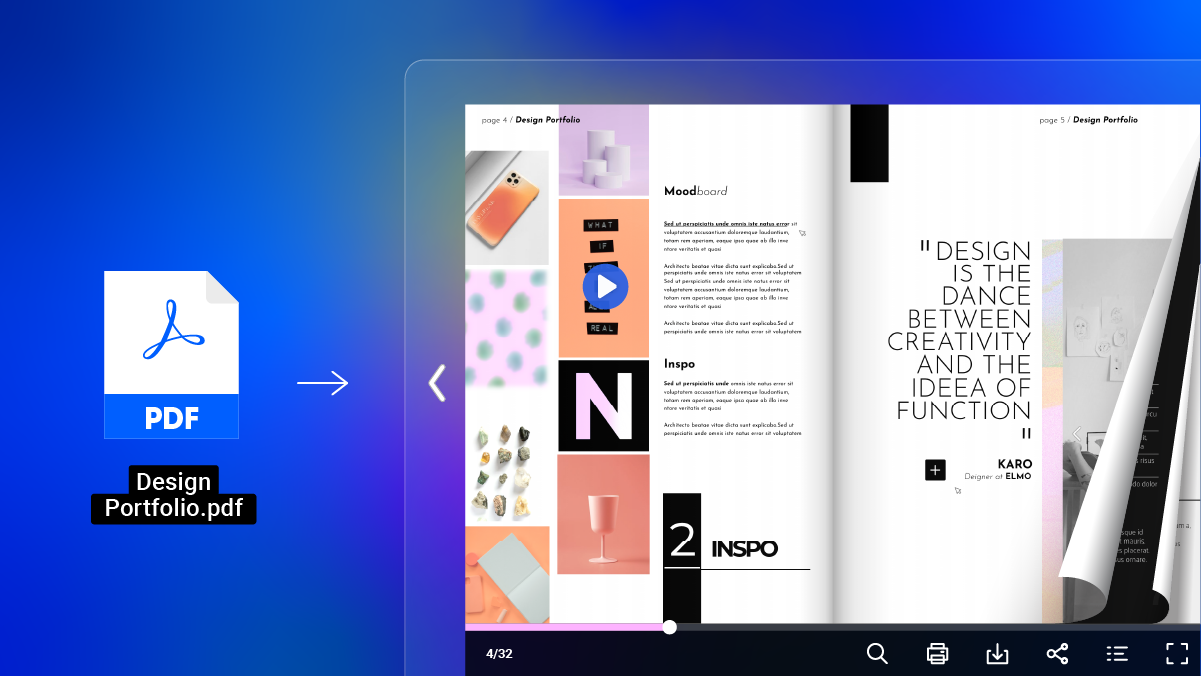
And btw, if you’re interested in exploring creative projects, you might be interested in giving Flipsnack a try as well. It has an integrated design tool which helps you create awesome page-flip books, perfect for presentations, portfolios, brochures and more!
I think this website is very helpful and useful. The article clearly lists the key points of each step of the process in a subtitle, and then explains the details in the text under the title. In this regard, I think the best advice is that we should not stay at the origin of thinking, but learn to obtain inspiration in a wide range and sort out the information and express it in an orderly manner. Many people tend to think about something over and over again, which leads to the loss of many good opportunities to inspire. I don’t agree with anything, but more practical students may feel that some parts are a little abstract and incomprehensible.
I find this site very useful.
I learned a lot of tips from this post, such as finding inspiration more from life rather than pictures on the internet! The size of the pictures in the mood board can also tell others about your theme or ideas! As well as making up mood boards with harmonized pictures and using the larger ones to expand some of the other pictures.
Yet I have doubts about experimenting and having fun, In my understanding, “experiment” means that we need to do something. we should do some crafty things to put on the mood board, but we haven’t started them yet, maybe we can finish some things later (like fabric alterations,) and then put them on the mood board?☺️☺️🤔