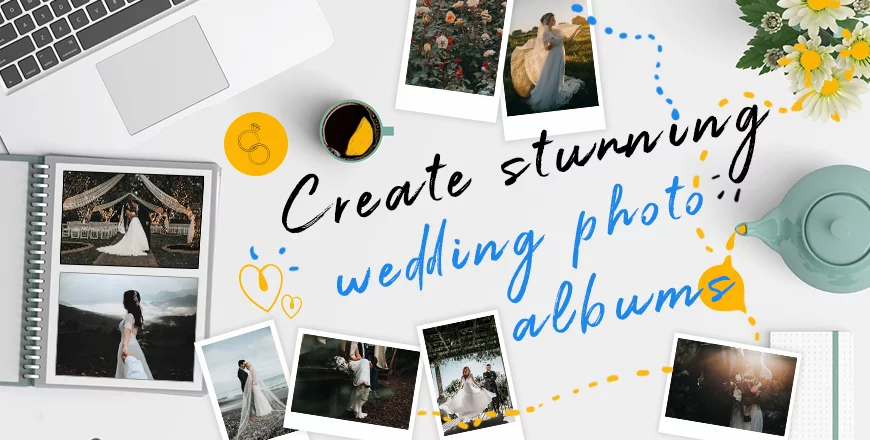
Cool ideas that help you create stunning wedding photo albums
I think everyone agrees that the wedding day is the most important event in someone’s life. This celebration has to be cherished forever because it represents the day when two love birds promise to each other eternal love and trust for a lifetime. And what better way to record this unforgettable moment than by capturing it in a stunning wedding photo album? Yes, we agree, it can be a real challenge to design it all by yourself; but the number of beautiful and professional templates from the internet will surely ease this difficult job.
Creating wedding photo albums is a tiresome and long process; but it’s also the most rewarding part of the wedding planning. Just think that you’ll have a gorgeous album for a lifetime. And you’ll also be able to relive the most important day of your life for years to come.
Truth be told; there’s nobody better to design wedding photo albums than the couple themselves because they know best what photos to add in the album. They know what kind of style to choose, layout, cover design and what text to add. They are the ones that can transform a simple wedding photo book into a reminiscent and special keepsake to have forever. It does not only bring a sense of personality into the album, but it’s also more affordable. It’s a win-win situation!
Sounds amazing, right? But how to start creating your own wedding photo album if you have no design skills at all? Don’t worry, today’s article will sort out all those details to help you with this issue. Keep on reading to discover useful tips and tricks that will inspire you to make the most creative wedding photo book ever!
6 cool ideas for designing dazzling wedding photo albums
1. Select and organize your photos
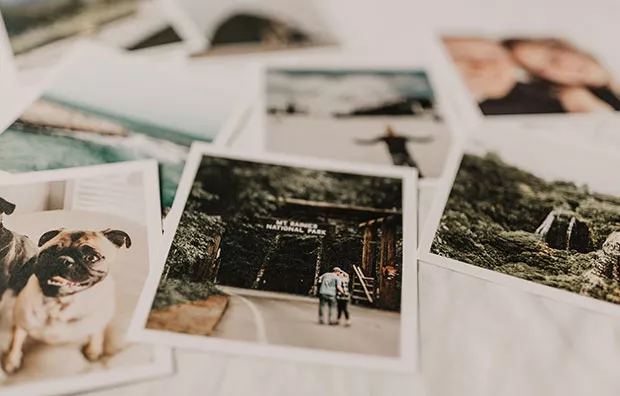
This might be the most important step of the entire process; so make sure you spend as much time choosing the best photos as needed. Your wedding photographer surely gave you hundreds of beautiful photos, with various important moments and situations in plenty of different angles and shots. Before you actually get started uploading photos for your album; you should set aside a time to go through all of them and only after you’ve seen them entirely should you make a selection with your favorites. To make things easier; I recommend you to put these images in a folder on your desktop computer so you can find them more quickly.
Keep in mind that choosing the images is the most time-consuming part; so take your time and ask for your loved one’s help. It doesn’t have to be done in just one day. Choose a variety of photos, from portraits, black & white to formal and casual images. It doesn’t matter how many photos you add in each category, but what’s important is to pick between 75 and 100 pictures in order to have a nice size wedding photo book.
Before getting to tip number two, I just want to remind you to make sure you’ve secured high-resolution images without watermarks from your photographer. If not, I suggest you try VanceAI, which offers an AI photo enhancer and editing tools to get super high resolution images. Now you’re ready to read the next tip!
2. Tell your wedding’s story through images
After you’ve selected your favorite photos; it’s recommended to group them into categories such as getting ready, civil ceremony, religious ceremony, the bride and groom portraits, reception, details, etc. This will help your wedding photo album’s story flow and everybody who will see your photo book will have a more clear picture of the entire wedding day. Mix the photos around and also have the freedom to edit them a little bit. The internet is filled with wedding photo editing services that are all extraordinary. Then, organize your photos by emotion, for example romantic, sentimental or funny. It’s really up to you how you decide to arrange them. My advice for you is to go with your instincts on which images look great next to other images; but also keep in mind that they should appear chronologically because otherwise, you’ll confuse everyone. Still, resist the temptation to place more than one image per page, because each image deserves to have all the attention of its very own page in wedding photo albums!
You want your wedding photo book to paint a picture of how your biggest day looked like and felt; so don’t forget to include the most memorable moments and special details such as the first kiss, exchanging of rings, father and daughter moments, the bride and her bridesmaids moments, the tossing of the bouquet or the sentimental toasts. The important thing to remember when putting the photos into the wedding photo book is that you’re trying to tell a story with only the images you’ve selected; so make sure everyone that flips through your wedding album sees a fluid story, without any gap.
3. Choose the perfect theme for your album
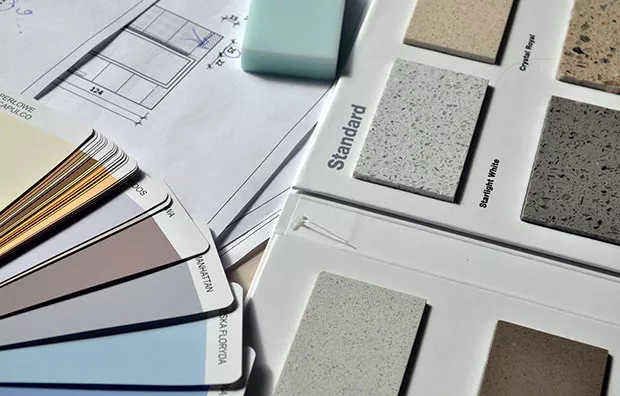
This is a very important step when designing wedding photo albums, so make sure you always take it into consideration. Keep in mind that the theme you choose will set the tone for the entire photo book; so be sure to pick neutral colors that won’t clash with your pictures. The best colors for wedding albums, in general, are elegant cream, ivory, grey, light yellow, black or pale pink. The internet is full of ideas in this respect, so just pick your favorite and let your creativity do the rest! If you have high-level graphic design skills, you can also choose to design your own theme. Match it with your wedding photos and style and you’ll have a unique and special theme for your wedding album. No matter the choice, just assure yourself you’ll have fun throughout this entire design process!
4. Layout your wedding album
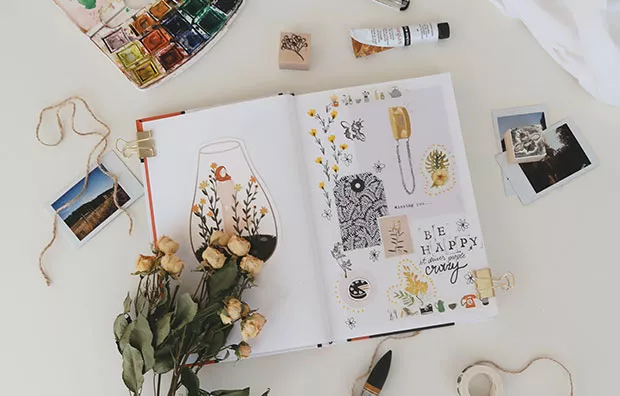
So, you’re done now with organizing the photos and choosing the perfect theme for your wedding photo book, and now it’s time to layout your photos. The easiest thing you can do is to choose a premade template and personalize it to your own liking. Flipsnack is always at your disposal with plenty of free wedding photo album templates whenever you decide to create your own. After you’ve picked a template; you can add decorative fonts and art elements, sentimental quotes, some lyrics or you can even add your wedding vows as text.
Place one image per page, because as we’ve already mentioned, each image deserves all the attention. You can also use negative space by leaving blank space on the spread. In this regard, your images won’t look crowded and bunched together; and the viewers will be able to focus more on the photos. Most importantly, don’t overthink this whole process and please don’t exaggerate with design elements or texts. Keep it clear and simple, so that your wedding photos stand out from the crowd and shine.
5. Pick your album’s cover design
One of the most crucial things when creating wedding photo albums it’s to choose the cover design. You already know why. Because the cover is the first thing that people notice when they see your wedding photo book; so make sure you opt for something catchy, simple and elegant. The choices you have are countless, really!
First of all, you have to decide on the album’s material. You can choose between many materials such as real or faux leather, silk, linen, canvas, and suede. Once you’ve established that, you have to decide if you’re going to put a photo on the cover, or prefer not to. If you choose the first option; decide how big you want the photo to be – full-page, half or maybe just a small photo in the middle. In the end, the only thing remains is the writing part. The couple’s name and the wedding date are the standard practice; but you can also choose something different if you want to. Pick the most suitable font for your wedding album, and you’re done with this step, too!
6. Print the photo book and keep it forever
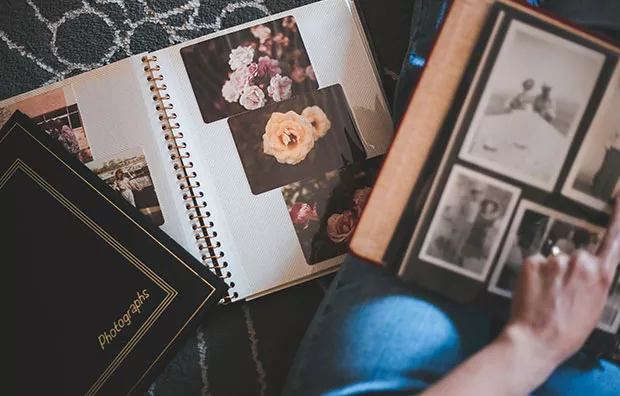
And here we are, at the last part of this step-by-step guide. Once you’re happy with the final result, it’s time to print your wedding photo book and enjoy it physically as well. In order to achieve the best results, I totally suggest printing your stunning wedding album at a professional print shop. They’ll definitely know how to handle your masterpiece and will take great care of it.
It’s great to hold your jewel into your arms and flip through its pages every time you miss your wedding day and want to relive it over and over again. Your family and friends will also love to feel and touch your wedding photo album physically, not just browse it online. And it will beautify your bookshelf, too. Your wedding day is the most important day in your life; so of course, you have to print your photo book and offer it a place of honor in your library!
How to make your own wedding photo book
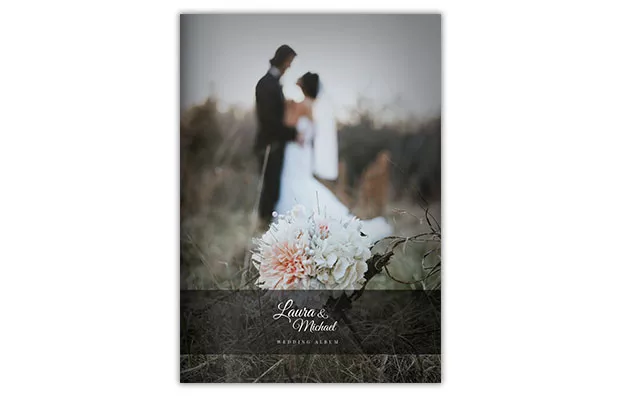
Enough with the theoretical part! Now it’s time to put everything you’ve learned so far into practice. Here’s a spectacular free wedding photo album template from Flipsnack that you can use in order to create your own gorgeous wedding photo book. Remember that all of our templates are fully customizable and editable, so feel free to make any changes you want. Let your creativity flow and design as many wedding photo albums as you wish within minutes. It’s free, simple and easy!
Final thoughts
When creating wedding photo albums, there might come a moment when you feel overwhelmed with the abundance of options, from the album’s material, themes, layouts to album’s cover. If you’re not sure what to choose, go for something simple and classy. Truth is, you’re going to keep your wedding photo book forever; so make sure you pick something that won’t be outdated in a short time.
It’s not difficult at all to tell the story of your wedding day through an outstanding wedding photo album when you choose one free template from Flipsnack’s marvelous collection. And also today’s tips and tricks will guide you in the right direction as you start creating a romantic photo book that you’ll keep for life. Take your time while designing it, because it will probably be the most special photo album you’ll ever make! Happy designing, everyone!
